
Kornit Breeze Printhead Filter Replacement
I never liked the original print-head filters by Kornit for the following reasons:
- Too expensive (45 eur each)
- Difficult to replace
- Bad design: the filter connectors are not 100% compatible with the Serto fittings used in Kornit Breeze (the thread is inaccurate and, most important, they lack the inner plug needed to have an air-tight connection) and that poor design often causes air-intakes in the ink line.
The 6 print-head filters needs to be replaced every 6 months, and running 3 Breezes meant replacing 18 print-head filters every year, plus other 18 primary ink filters and 3 fixation filters, totaling 1.755 eur per year (585 eur per printer).
My first move to reduce this cost was to learn how to recycle old filters, by cleaning them and replacing the inner mesh and o-ring for about 3 eur each, reducing the cost from 585 eur per machine per year to only 39 eur, saving 1600 per year.
It was a very good result, but it did not solve the other issues: difficult to replace and poorly designer connectors, and also recycling the filters was a bit time consuming (say 6 hours per year).
Recently I’ve found an interesting solution provided by Hydra Ink: replacement 5micron filters (better filtering capability that the original 10 micron Kornit filters) at only 7 eur each (8 USD), link to the product here.

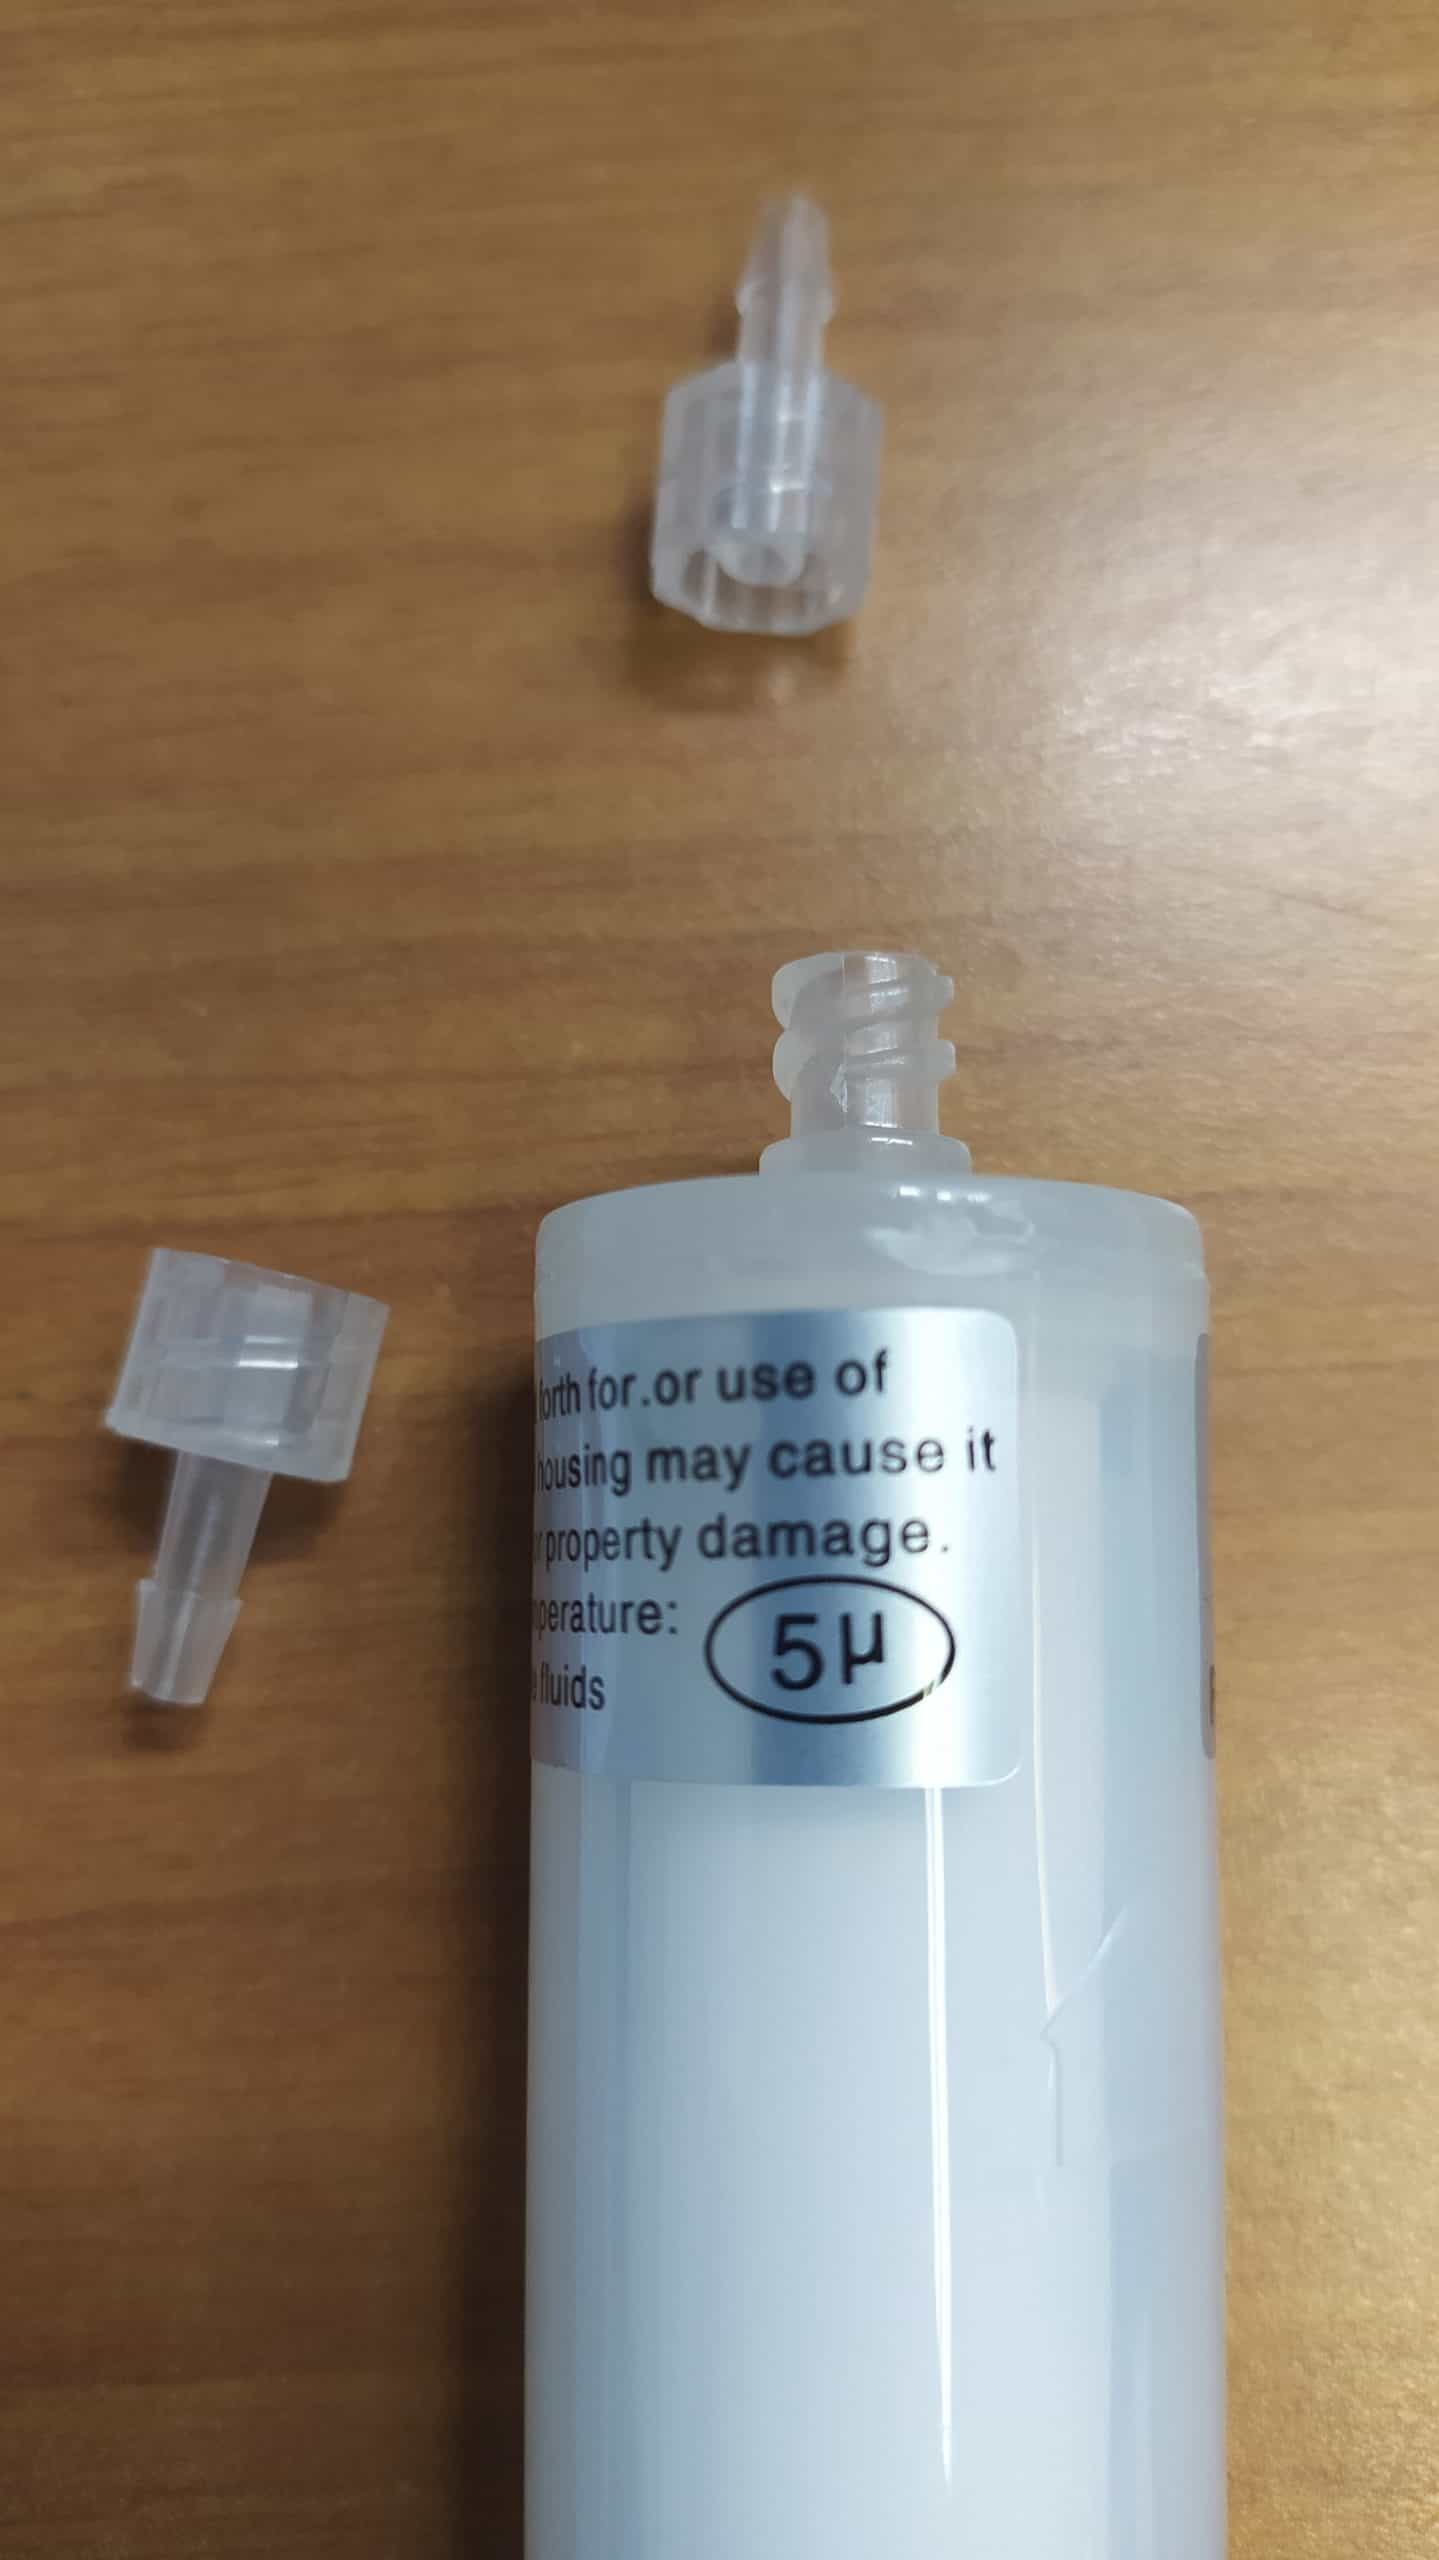
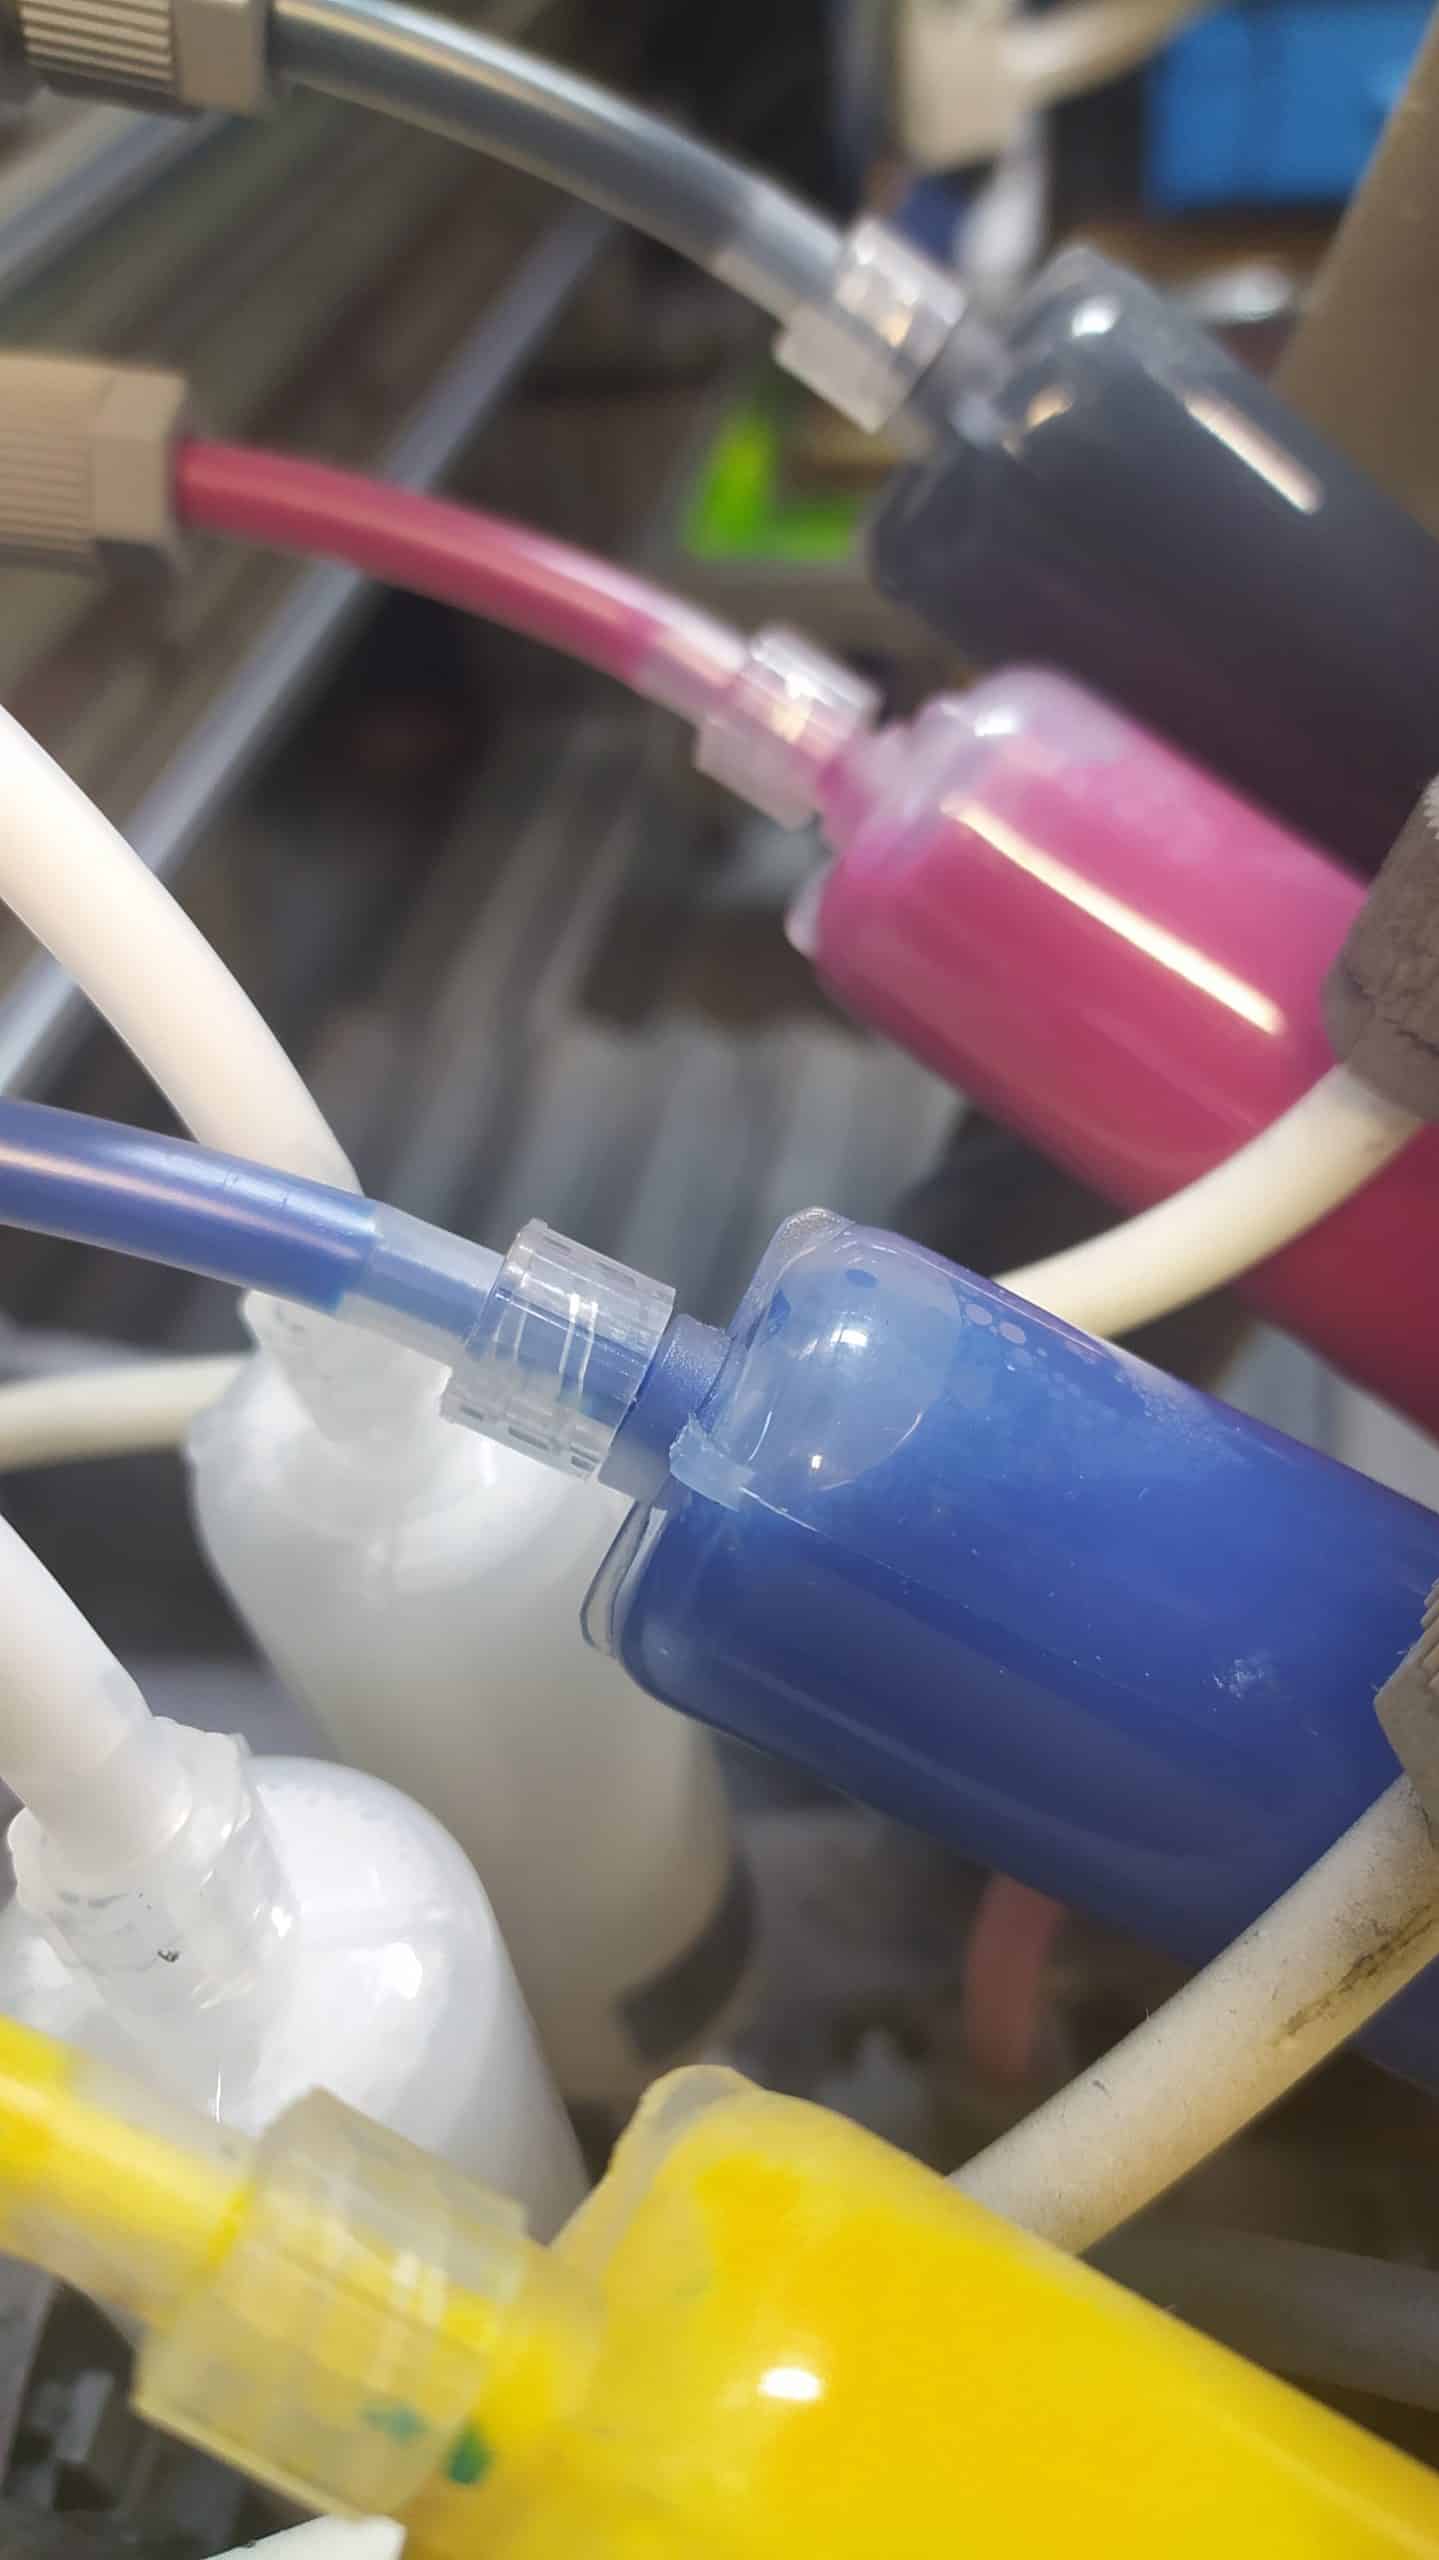
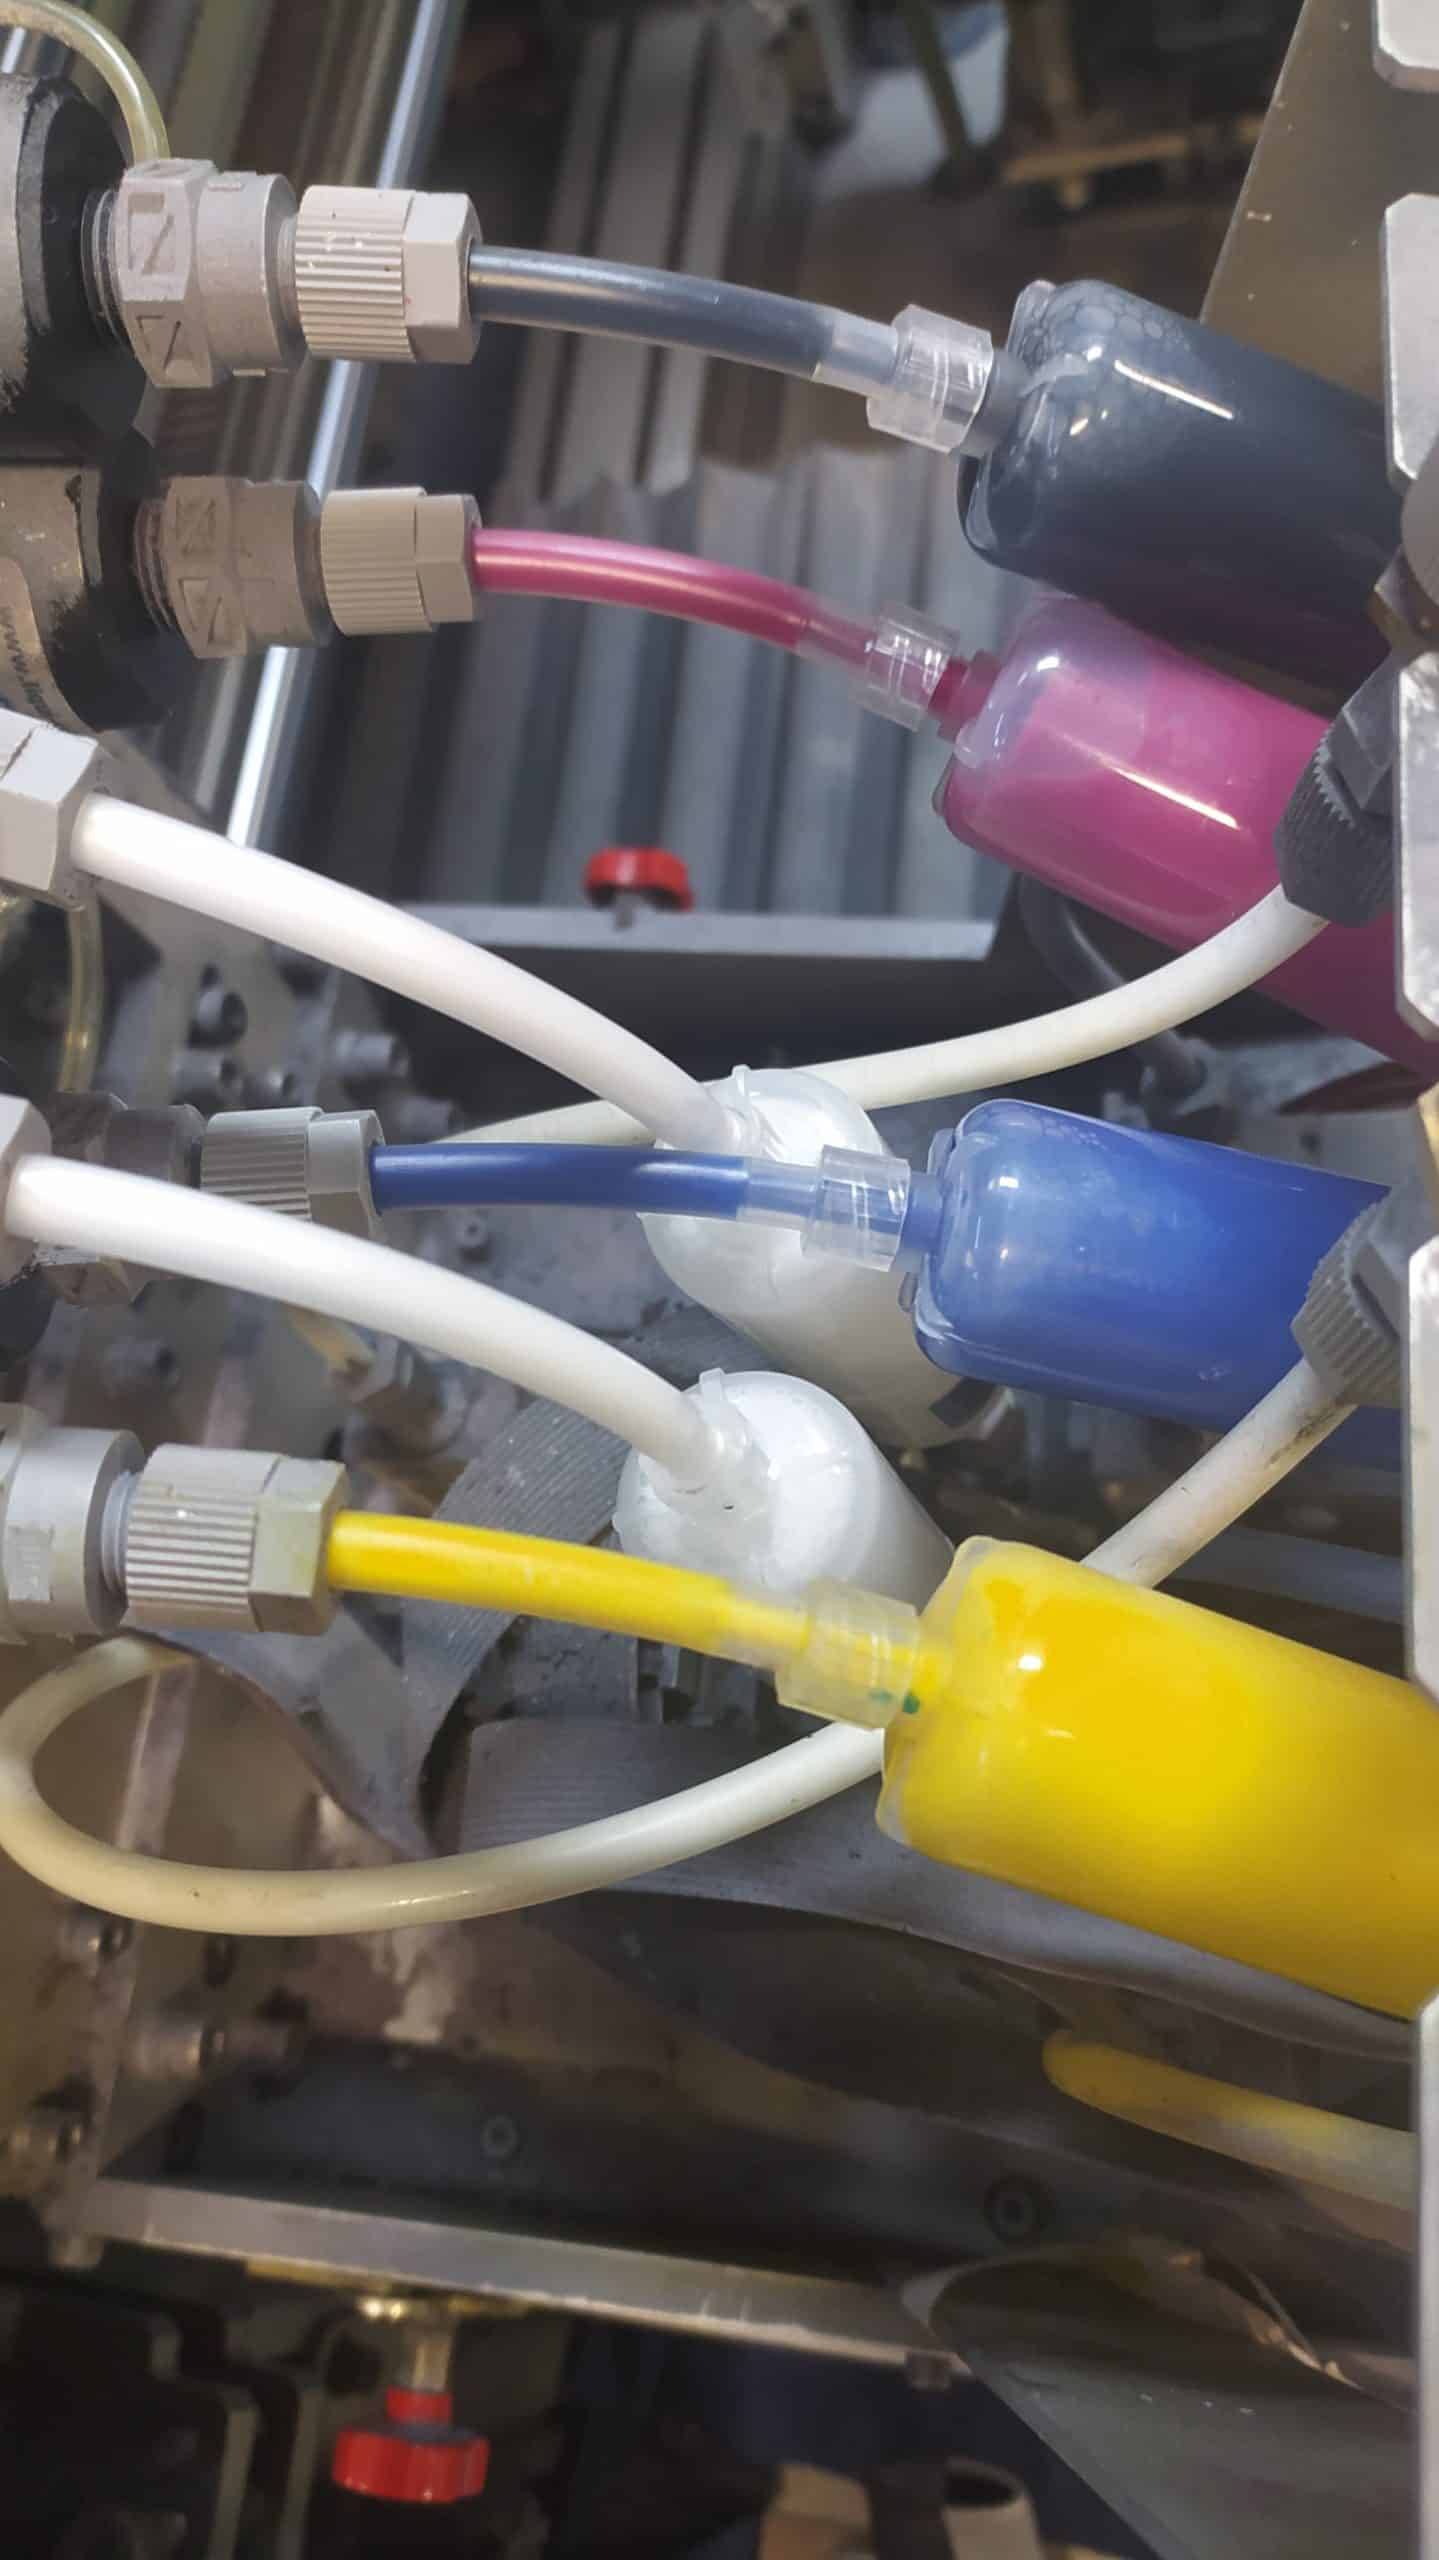
The Hydra filters comes with a Luer Lock connector, with a barb that fits in the standard Serto 6 mm tubes, they are designed and sold to be installed in bigger Kornit printers.
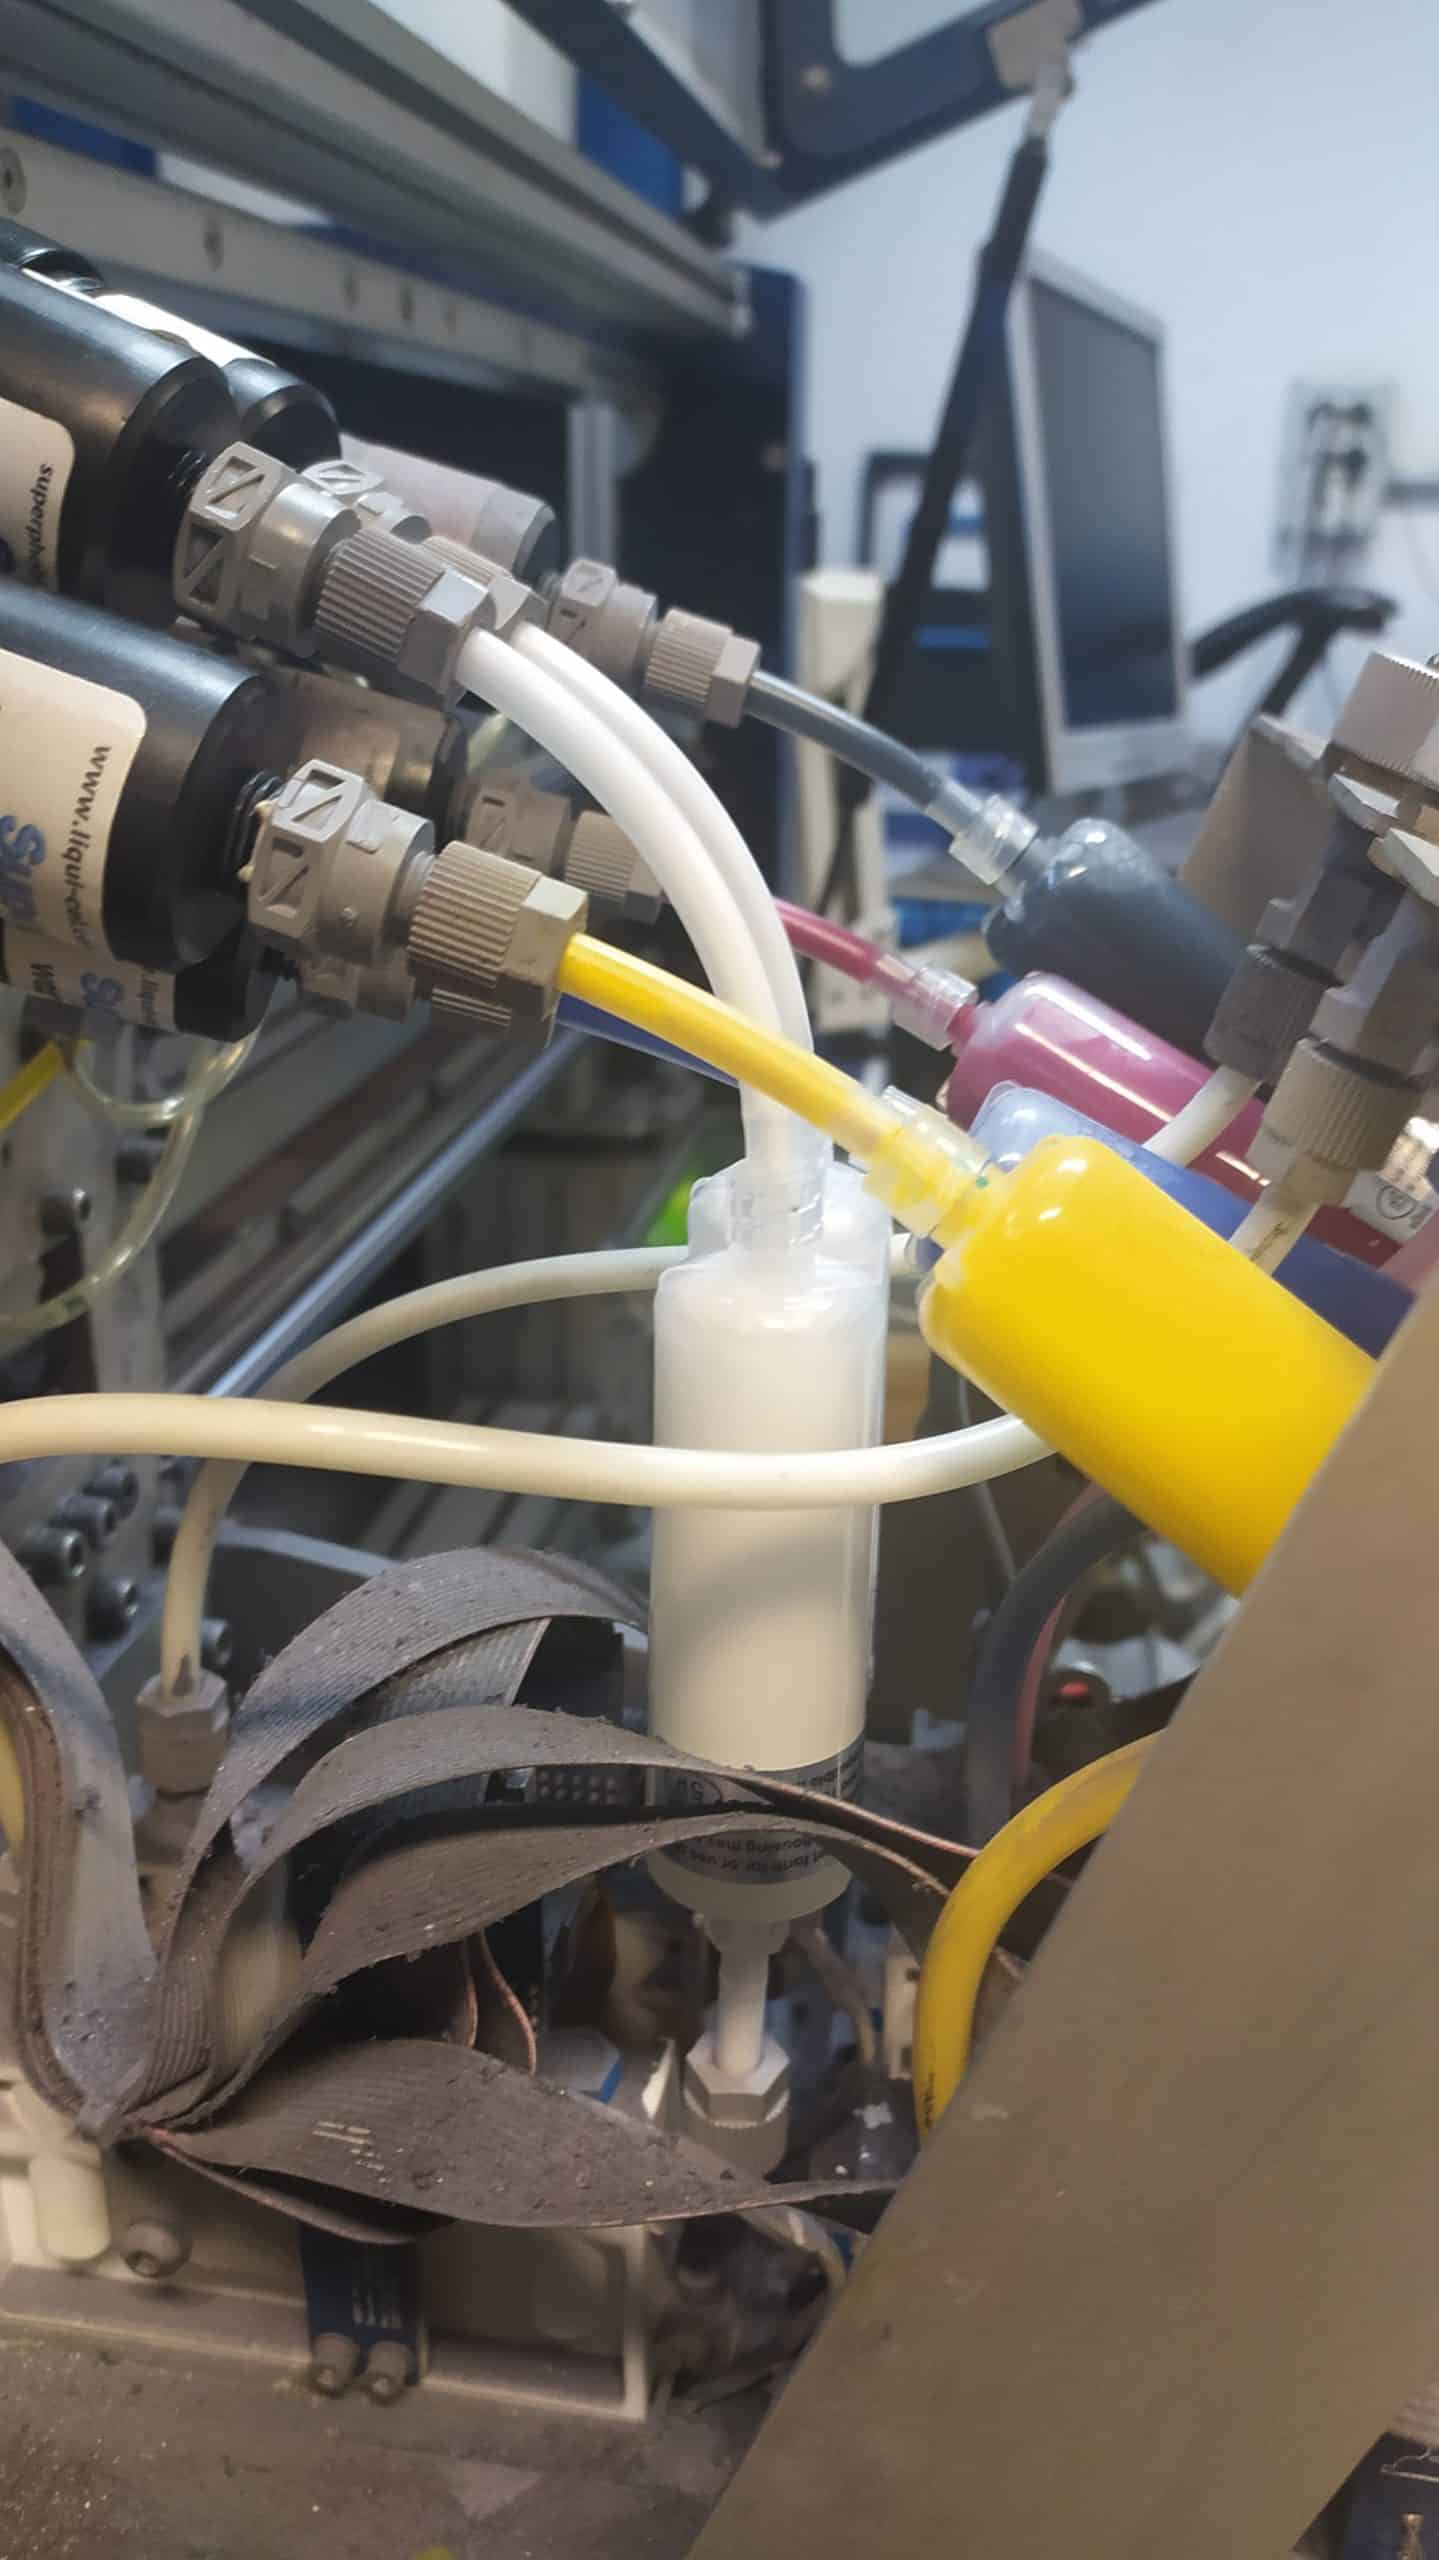
The only challenge was to find enough room to install them in the Breeze’s print-head carriage, since the new filters are longer than the original ones.
I started by replacing only the yellow filter, and tested it for a couple of months without any issues. So I decided to change all the print-head filters.
The replacement was pretty simple, I only had to:
- remove the old filters and the tube sections between the degas and the print-head
- on the white lines, shorten a bit (2 cm) the tube between the ink tank and the degas, to make more room for the filters
- cut new tube sections to place the filters in the desired position between the print-head and the degas
- plug the Luer Lock connectors in the tubes
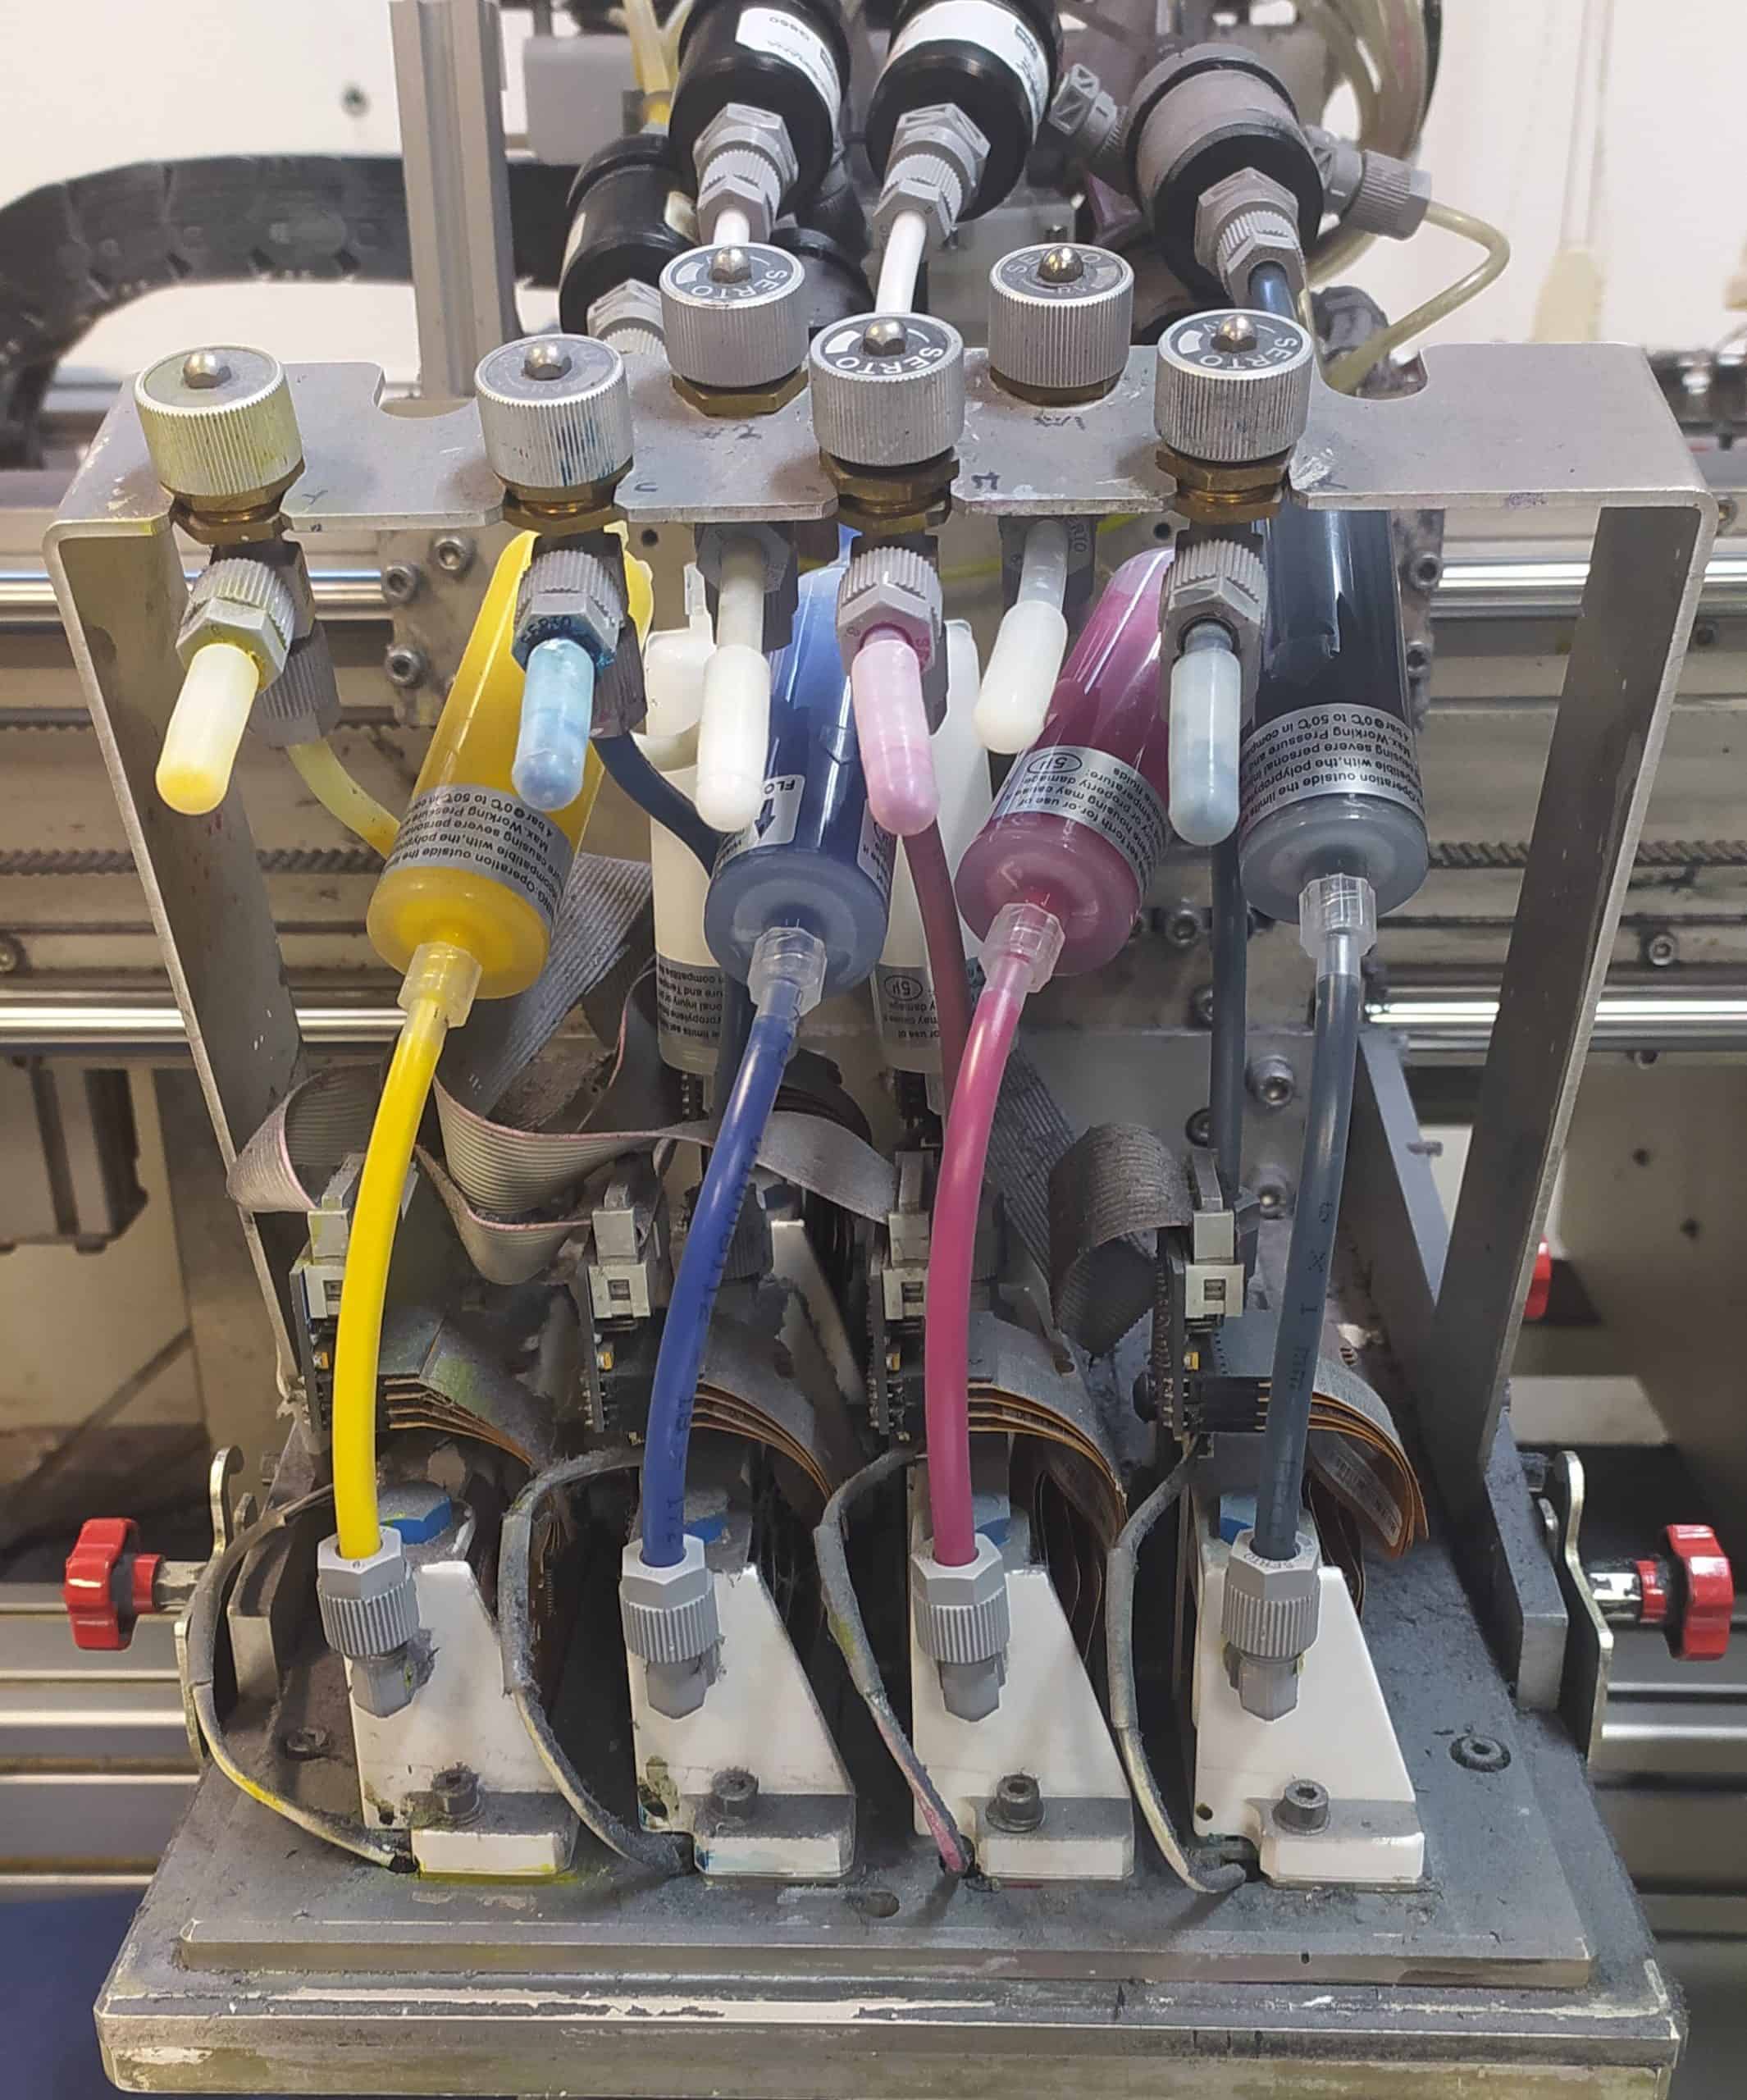
- connect the filters
- run a couple of purges to fill the filters and the ink lines and to get rid of air bubbles
- manually wipe the print-heads and start printing 😉

Please Note:
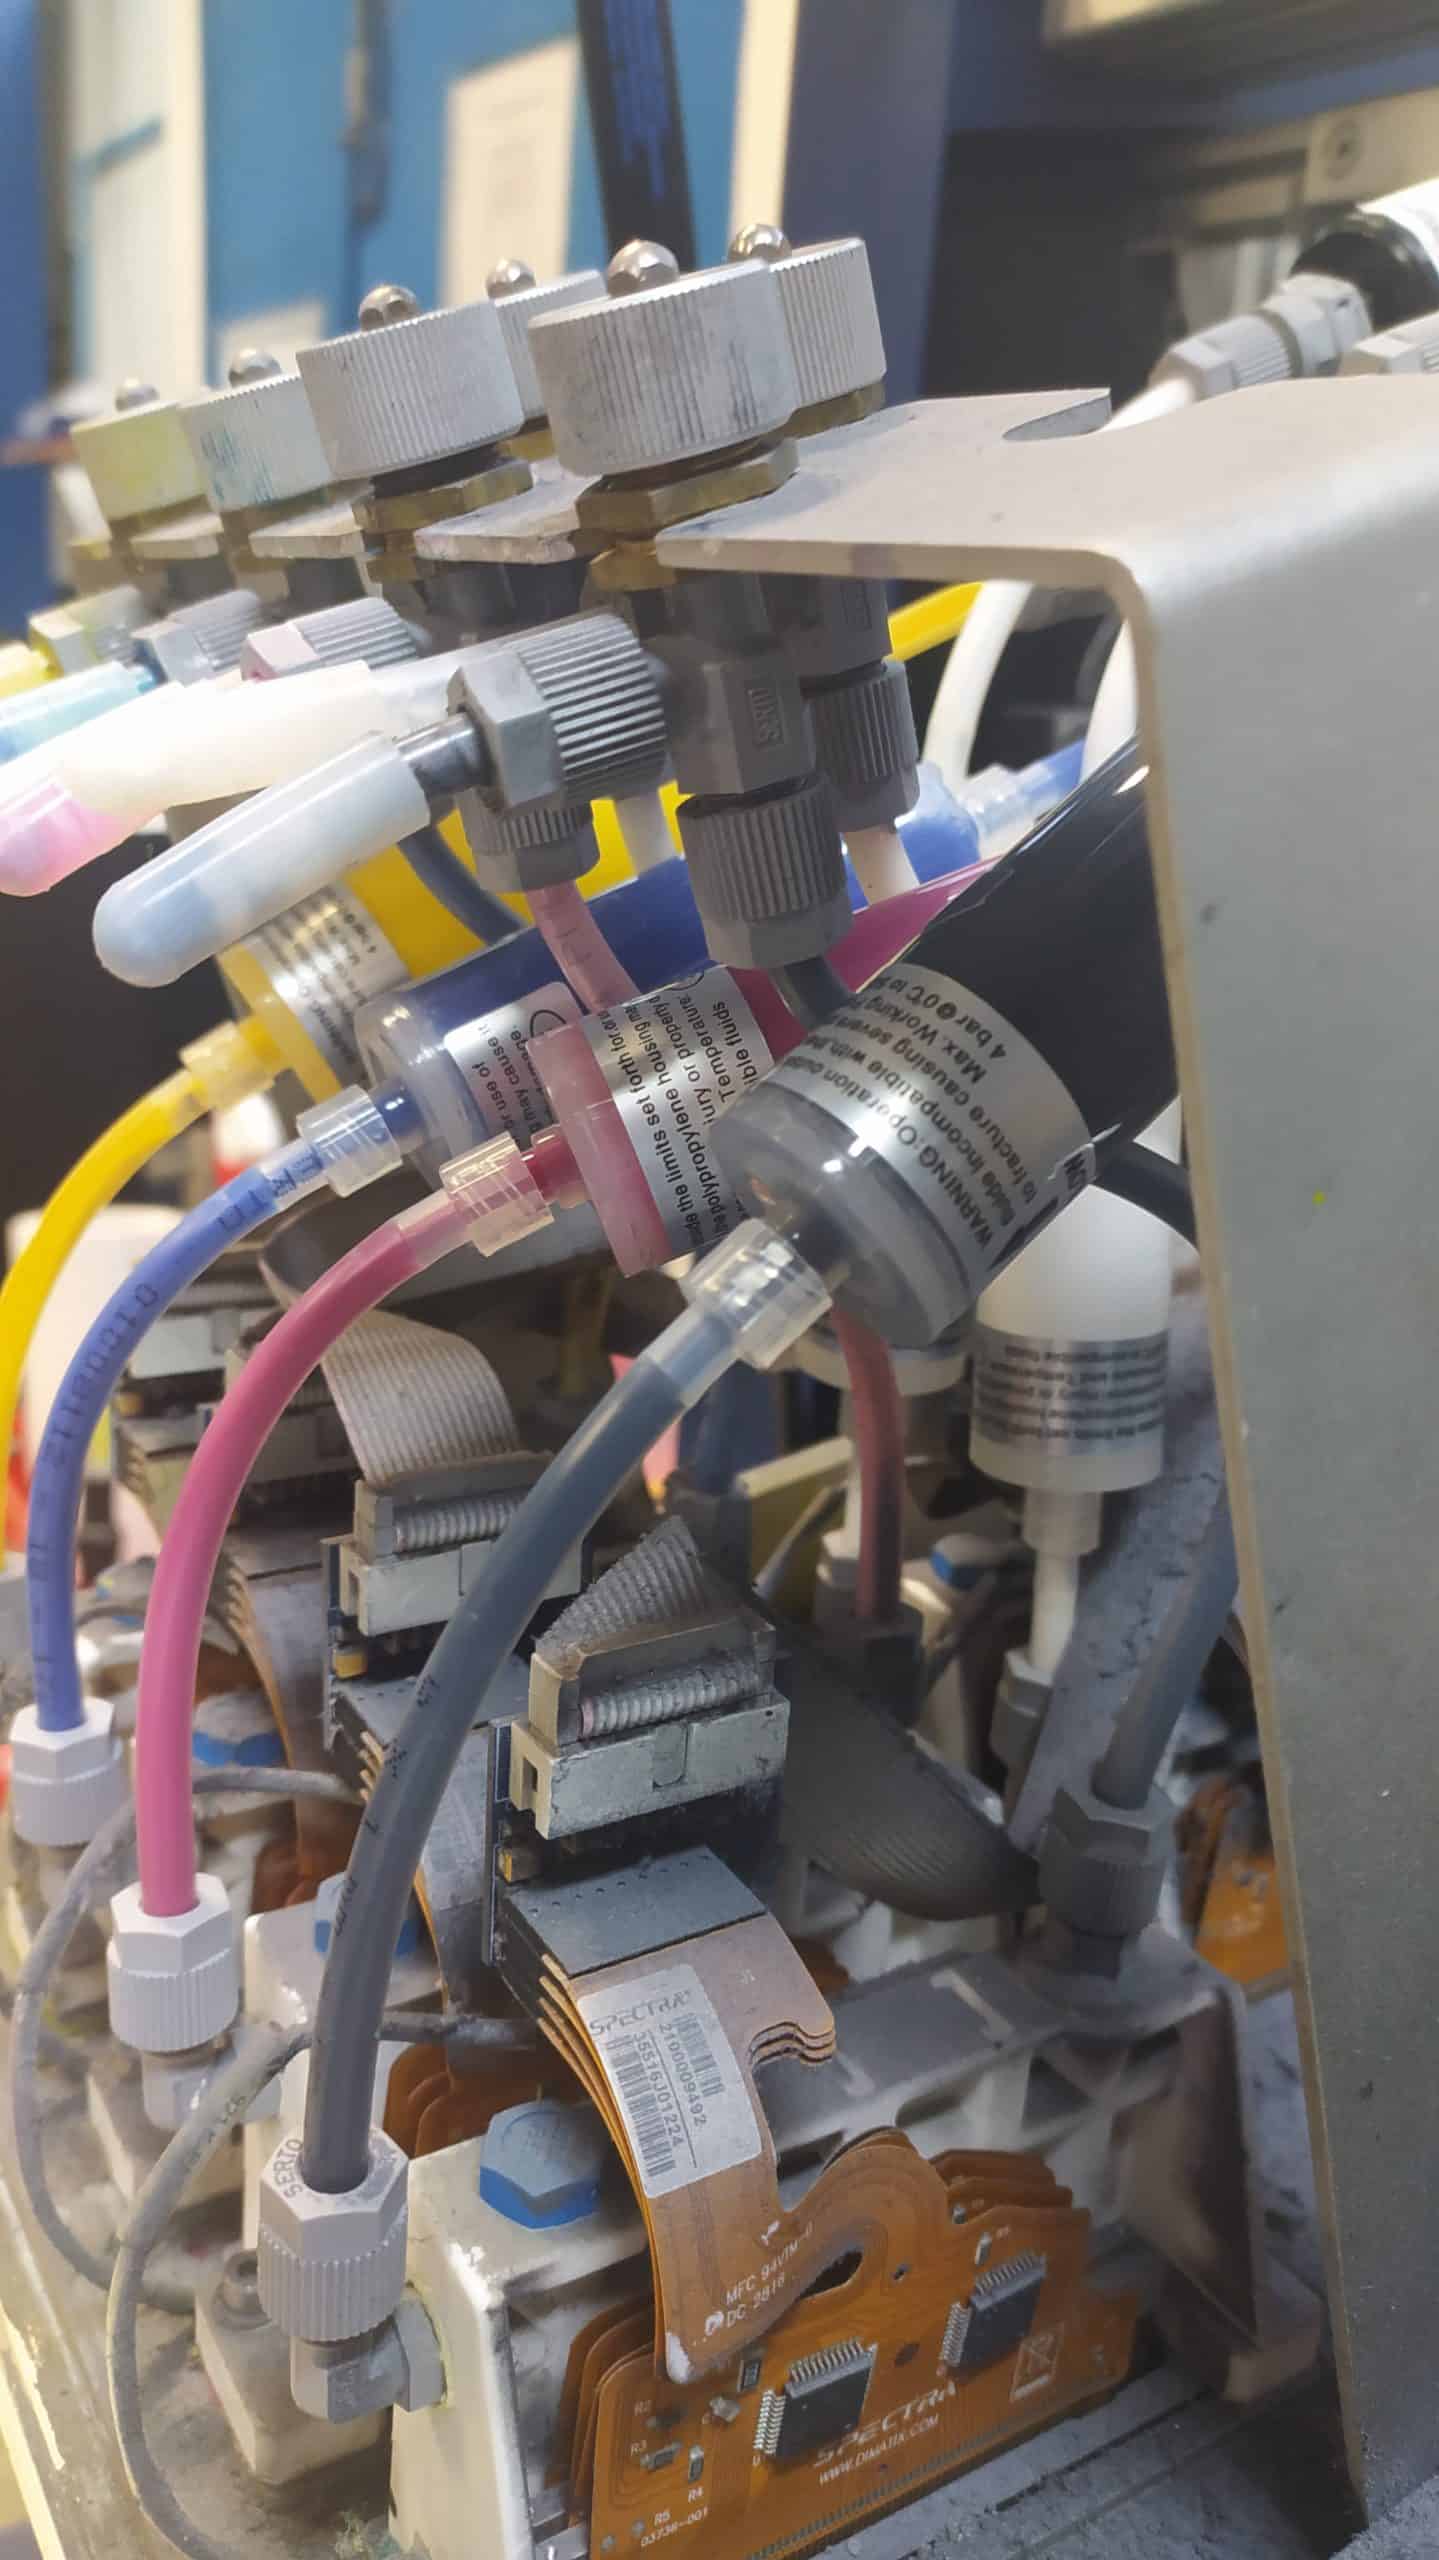
– The tubes have been replaced with a different tube than the original Nylon tube used by Kornit. I prefer to use a softer Serto tube, made with Poliethilene. It is more transparent, softer and easier to bend. The Serto product code is 420.0200.105 LDPE 6/4×1 W, and it is sold in 100m reels for around 30 eur.
– It is better, especially for white filters, to pre-fill them with ink, to introduce less air in the line.
– these filters are meant to be installed vertically, but I could not find an easy solution to place CMYK vertically, without further modifications. Some small air bubbles are visible in the upper side of the CMYK filters, but they do not pose a threat and were also often present in the original filters.
Conclusions
- the total cost per printer per year is now 133 eur (not so cheap as recycling the filters, but safer and less time consuming), down from 585 eur per printer per year,
- the new filters are easier to replace,
- they offer a better filtration: 5 microns instead of 10 microns.
Update: after 3 months of usage I’ve noticed a degradation of white coverage. These filters are thinner than the original ones (5 microns instead of 10) and get clogged sooner, preventing the correct amount of pigment to flow through.
Under heavy usage, the duty cycle seems to be 3 months instead of 6 months (for the white inks).
Replaced the 2 white filters in less than 10 minutes 😉